
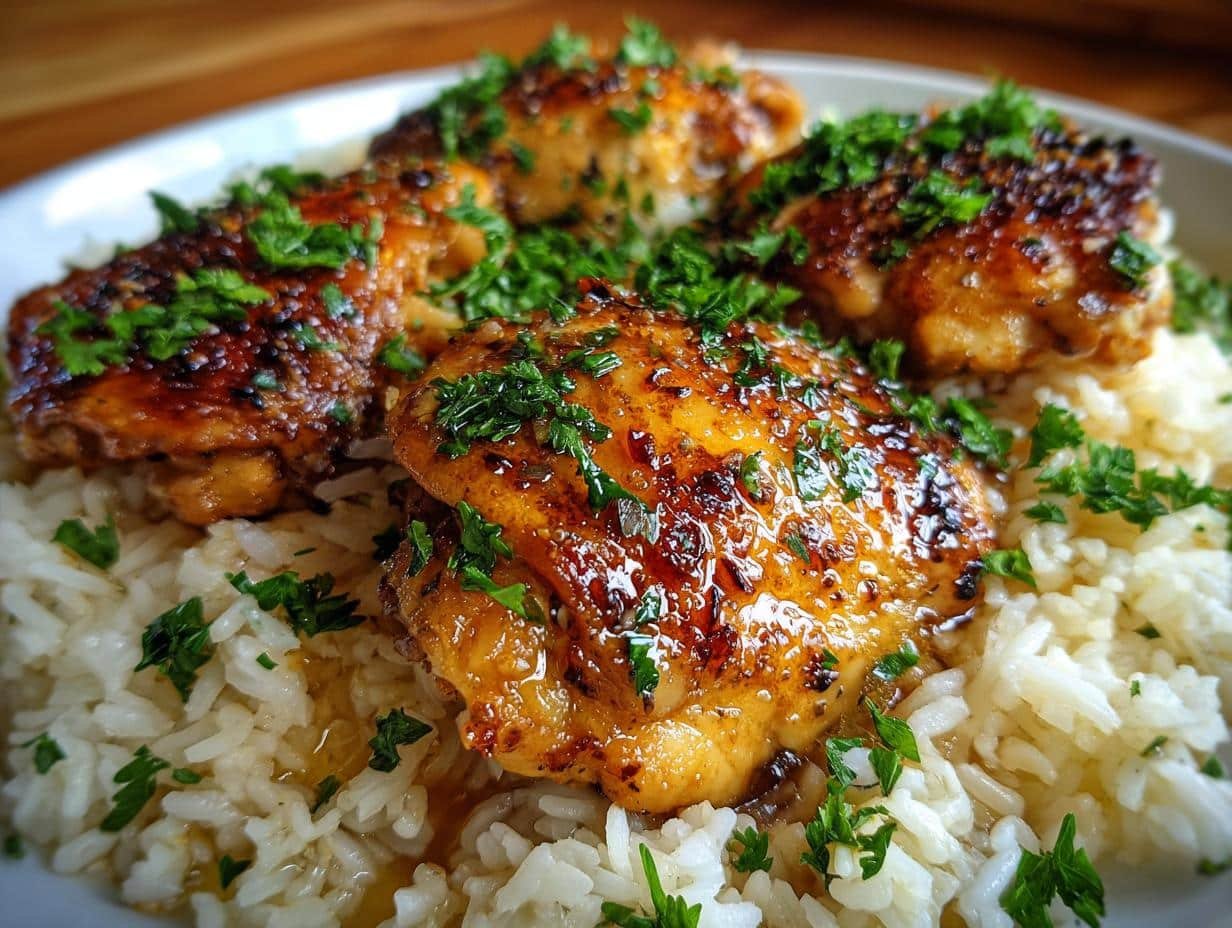
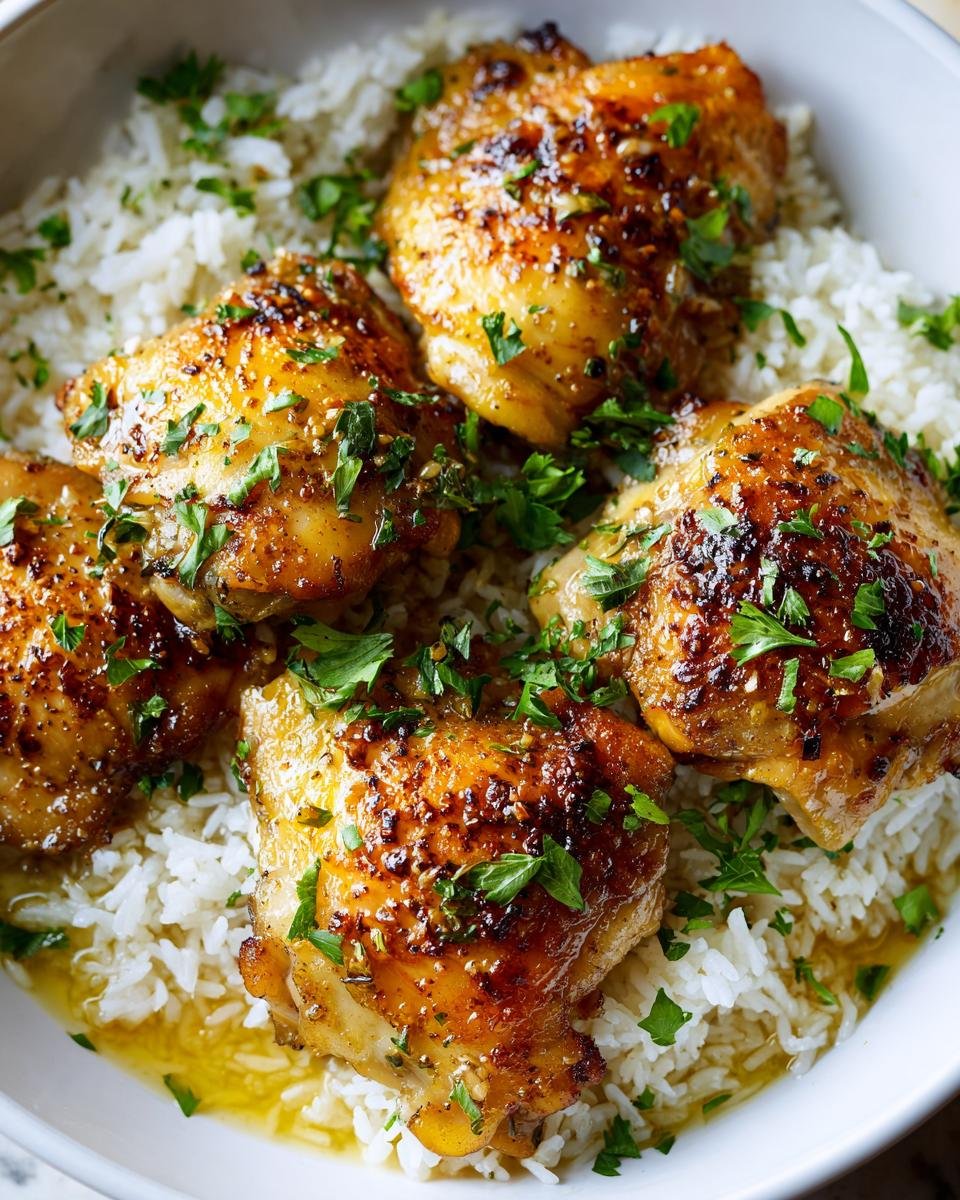
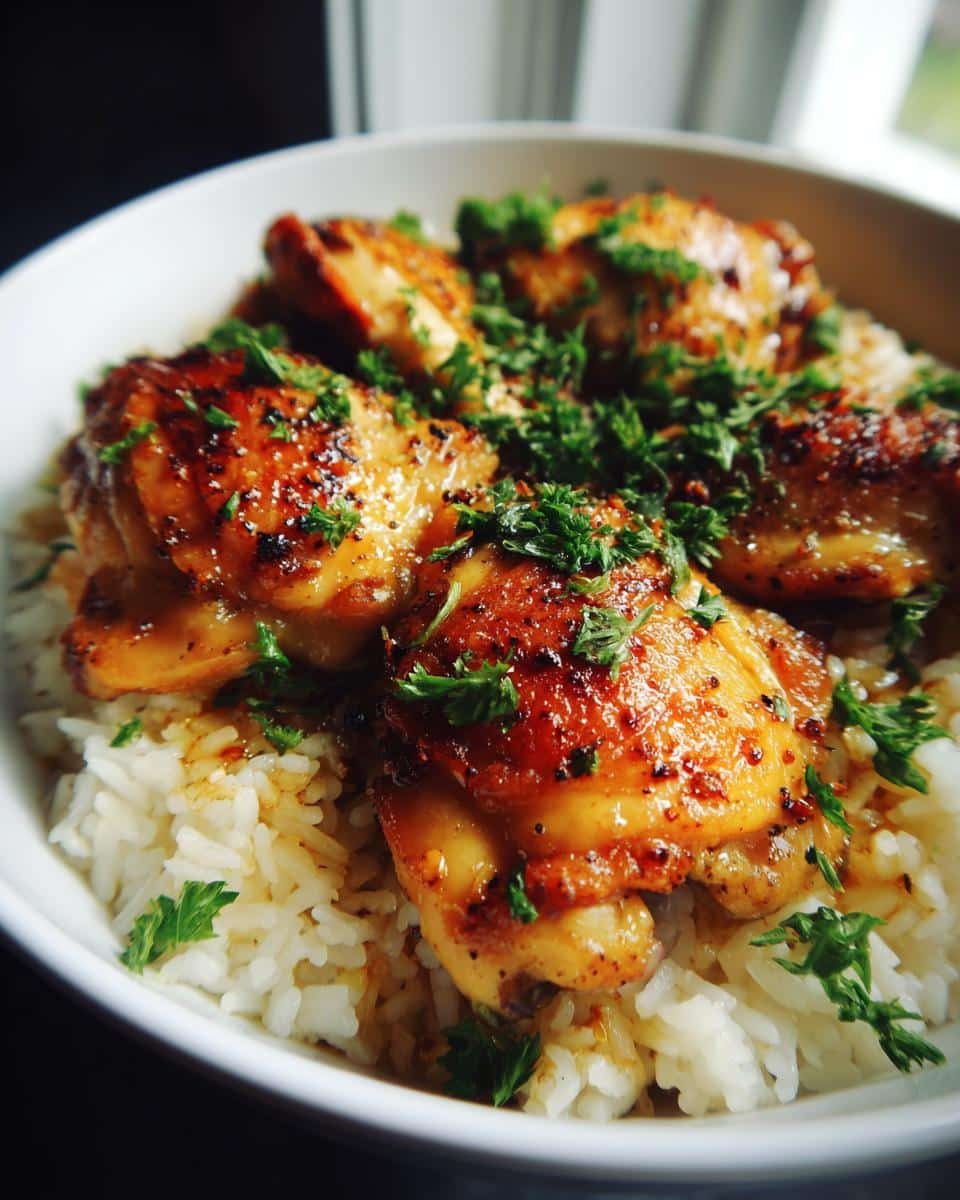
You know those nights when you’re staring into the fridge at 6 PM, willing dinner to magically appear? That was me every Wednesday until I cracked the code for this One-Pan Honey Butter Garlic Chicken & Rice. It’s become my golden ticket – juicy chicken, fluffy rice, and that sticky-sweet garlic sauce all in one pan (bless the dishwasher-free cleanup). My kids actually beg for leftovers, and that’s saying something!

Why You’ll Love This One-Pan Honey Butter Garlic Chicken & Rice
Trust me, this recipe’s a game-changer for busy nights! Here’s why it’s my go-to:
- One pan magic: From sizzling chicken to fluffy rice, everything cooks together – no juggling pots or mountains of dishes
- Flavor bomb: That golden honey-butter-garlic sauce? It soaks into every bite of chicken and rice like a sweet, savory hug
- Weeknight hero: 35 minutes start to finish (yes, really!) with ingredients you probably have right now
The secret’s in those simple-but-mighty ingredients – each one plays a starring role.
Ingredients for One-Pan Honey Butter Garlic Chicken & Rice
Here’s everything you’ll need for this flavor-packed dish – I promise it’s all simple stuff! Measure everything before you start (my “mise en place” moment that keeps me from burning garlic while scrambling for the honey jar).
- 4 boneless, skinless chicken thighs (skin-on works too for extra crispiness!)
- 1 cup long-grain white rice (rinsed until water runs clear)
- 1 1/2 cups chicken broth (low sodium if you’re watching salt)
- 4 tbsp unsalted butter (the real deal – margarine just won’t give you that rich flavor)
- 3 cloves garlic, minced (fresh is best, but 1 tsp jarred works in a pinch)
- 2 tbsp honey (I like wildflower for its floral notes)
- 1/2 tsp kosher salt (or 1/4 tsp table salt)
- 1/4 tsp freshly ground black pepper
- 1 tbsp chopped fresh parsley (save the stems for stock!)
Ingredient Notes & Substitutions
No stress if you need to swap things – here’s how to tweak without losing that magic:
- Rice: Brown rice needs 1/4 cup extra broth and 5-10 more minutes cooking time
- Sweetener: Pure maple syrup works beautifully instead of honey – use 1:1
- Chicken: Breasts dry out faster – reduce cook time by 3-4 minutes per side
- Broth: Water + 1 tsp chicken bouillon works in emergencies (I’ve been there!)
See? Flexibility is built right in. Now grab that skillet – let’s cook!
Equipment You’ll Need
Honestly, this recipe keeps it stupid simple – just grab these basics:
- 12-inch skillet (the bigger the better for even cooking)
- Tight-fitting lid (steam is your rice’s best friend)
- Wooden spoon & measuring spoons (my garlic-honey mixing squad)
No fancy gadgets needed – just solid tools you already own!
How to Make One-Pan Honey Butter Garlic Chicken & Rice
Okay, let’s dive into the magic! This method is foolproof if you follow these steps – I’ve burned enough pans to know what works (oops). The secret? Patience with the chicken and resisting the urge to peek at that rice!
Step-by-Step Instructions
- Butter up: Melt butter in your skillet over medium heat. You’ll know it’s ready when it stops foaming and smells nutty – about 2 minutes. (This is where the flavor starts!)
- Chicken time: Add thighs and cook 5 minutes per side until golden with crispy edges. Don’t crowd them – work in batches if needed. That sizzle means they’re browning perfectly!
- Rest those beauties: Transfer chicken to a plate. It’ll finish cooking later – trust the process! Those juices will make the rice incredible.
- Garlic love: Add minced garlic to the buttery pan. Stir 30 seconds until fragrant (but not brown!). This is when my kitchen smells like heaven.
- Rice party: Stir in rice, broth, honey, salt, and pepper. Scrape up all those golden bits – that’s flavor gold! The liquid should just cover the rice.
- Reunite the chicken: Nestle thighs back into the skillet, pouring in any accumulated juices. They should peek above the rice like little islands.
- Steam magic: Cover tightly and reduce heat to low. Set a timer for 15 minutes first – we’ll check then. (No peeking! Steam escape = crunchy rice tragedy.)
- Finish strong: When rice is tender and liquid absorbed (usually 20 mins total), remove from heat. Let it sit covered 5 minutes – this plumps up the grains perfectly.
- Garnish & serve: Sprinkle with fresh parsley. Watch how that green makes everything look fancy! (Bonus: add a lemon wedge for brightness.)
Common Mistakes to Avoid
After many (many) test batches, here’s what NOT to do:
- Overcrowding the pan: Chicken needs space to brown, not steam. Do batches if your skillet’s small – it’s worth the extra 5 minutes!
- Lid-lifting addiction: Every peek releases steam and adds 2 minutes to cook time. Set that timer and walk away!
- High heat haste: Medium heat for browning, low for simmering. Burnt garlic or crunchy rice? Usually a heat issue.
Follow these tips, and you’ll get that perfect combo – tender chicken, fluffy rice, and sauce that’ll have everyone scraping their plates!
Serving Suggestions for One-Pan Honey Butter Garlic Chicken & Rice
This dish shines bright all on its own, but I love rounding it out with something fresh and green. My go-to is a simple arugula salad with lemon vinaigrette – the peppery bite cuts through that rich honey butter sauce perfectly. Steamed broccoli or roasted asparagus work wonders too if you’ve got 5 extra minutes!
Storage & Reheating
Leftovers? Lucky you! Store in an airtight container in the fridge for up to 3 days. When reheating, splash in a tablespoon of broth or water before microwaving (covered!) to bring back that perfect moisture. Pro tip: the rice actually gets more flavorful on day two – the garlic and honey meld into something magical!
Nutritional Information
Here’s the scoop on what’s in each serving of this glorious One-Pan Honey Butter Garlic Chicken & Rice (because let’s be real – we all pretend not to care until we’re scraping the last bits from the pan). Remember: These are estimates based on standard ingredients – your exact numbers will vary depending on brands and any tweaks you make!
| Serving Size | 1/4 recipe (about 1.5 cups) |
|---|---|
| Calories | 520 |
| Total Fat | 22g |
| Saturated Fat | 10g |
| Carbohydrates | 52g |
| Sugar | 8g |
| Protein | 28g |
| Sodium | 720mg |
A few quick notes from my kitchen experiments: Using low-sodium broth cuts the sodium nearly in half, and swapping half the butter for olive oil reduces saturated fat without losing flavor. But honestly? Sometimes you just need that full honey-butter experience – life’s too short not to enjoy every garlicky bite!
Frequently Asked Questions
I’ve gotten so many great questions about this One-Pan Honey Butter Garlic Chicken & Rice over the years – here are the ones that come up most often in my kitchen (and my inbox!). These tweaks and tips come straight from real cooking experiences – mine and my readers’!
Q1. Can I use chicken breasts instead of thighs?
Absolutely! Chicken breasts work fine, but they cook faster than thighs. Reduce the initial browning time to 3-4 minutes per side, and check for doneness at 15 minutes of simmering instead of 20. Pro tip: Pound thicker breasts to even thickness so they cook evenly – nobody wants dry chicken next to perfect rice!
Q2. How do I make this gluten-free?
Good news – this recipe is naturally gluten-free as written! Just double-check your chicken broth (some brands sneak in gluten), and you’re golden. I love using Pacific Foods or Swanson’s certified GF broths for guaranteed safety. The rest – rice, honey, butter – are naturally gluten-free superstars.
Q3. Can I double the recipe for a crowd?
Yes! But here’s the key – use a larger pan (I bust out my 15″ skillet) or cook in batches. Crowding the pan leads to steamed chicken instead of that gorgeous golden crust we love. The rice-to-liquid ratio stays the same, so double everything evenly. Expect about 5 extra minutes cooking time since there’s more mass in the pan.
Reader Interaction
Now it’s your turn! Did this One-Pan Honey Butter Garlic Chicken & Rice become your new weeknight MVP like it did for me? Drop a star rating below and tell me your favorite twist – maybe you added red pepper flakes for heat, swapped in basmati rice, or threw in some mushrooms (yum!). Your ideas inspire my next kitchen experiments, and I read every single comment with my morning coffee.

Special shoutout to reader Marcia from Ohio who suggested adding a pinch of thyme – game changer! Can’t wait to hear how yours turns out. Happy cooking, friends!
Print“35-Minute One-Pan Honey Butter Garlic Chicken & Rice Perfection”

A simple one-pan meal with tender chicken, fluffy rice, and a sweet garlic butter sauce.
- Prep Time: 10 mins
- Cook Time: 25 mins
- Total Time: 35 mins
- Yield: 4 servings 1x
- Category: Main Dish
- Method: Stovetop
- Cuisine: American
- Diet: Low Lactose
Ingredients
- 4 boneless, skinless chicken thighs
- 1 cup long-grain white rice
- 1 1/2 cups chicken broth
- 4 tbsp butter
- 3 cloves garlic, minced
- 2 tbsp honey
- 1/2 tsp salt
- 1/4 tsp black pepper
- 1 tbsp chopped parsley
Instructions
- Melt butter in a large skillet over medium heat
- Add chicken thighs and cook for 5 minutes per side
- Remove chicken and set aside
- Add garlic to the skillet and cook for 30 seconds
- Stir in rice, chicken broth, honey, salt, and pepper
- Return chicken to the skillet
- Cover and simmer for 20 minutes
- Sprinkle with parsley before serving
Notes
- Use a tight-fitting lid for best results
- Check rice for doneness after 15 minutes
- Adjust honey to taste
Nutrition
- Serving Size: 1/4 recipe
- Calories: 520
- Sugar: 8g
- Sodium: 720mg
- Fat: 22g
- Saturated Fat: 10g
- Unsaturated Fat: 9g
- Trans Fat: 0g
- Carbohydrates: 52g
- Fiber: 1g
- Protein: 28g
- Cholesterol: 125mg