
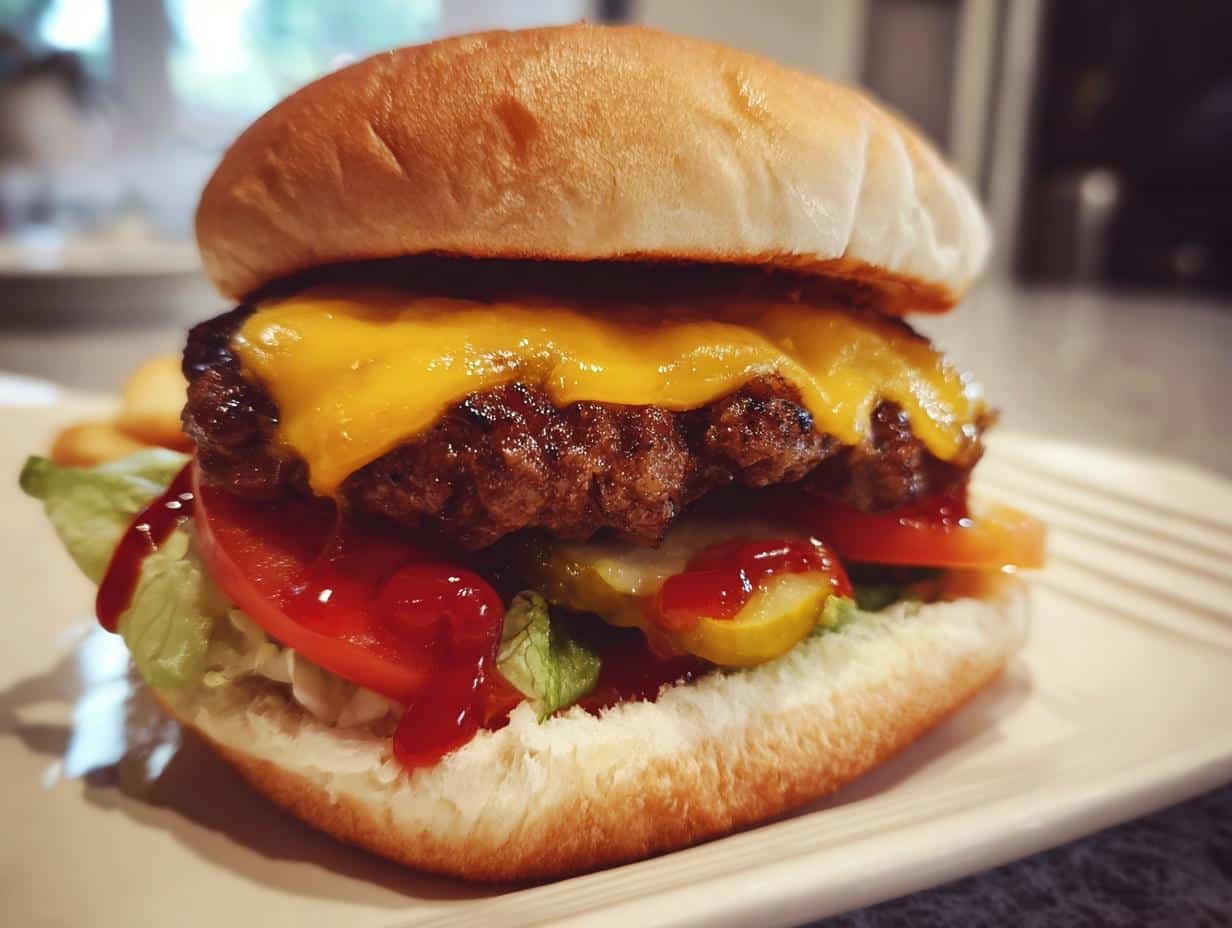
There’s nothing quite like biting into a homemade cheeseburger, is there? That first juicy bite with melted cheese dripping down your fingers – it’s pure happiness on a bun. I remember my dad teaching me how to make my first cheeseburger when I was twelve. He’d say, “Kid, a great cheeseburger isn’t fancy – it’s about getting the simple things right.” And you know what? He was absolutely right.
This classic cheeseburger recipe is my go-to when I want something satisfying without fuss. Just good beef, proper seasoning, melty cheese, and fresh toppings – that’s all you need. What makes it special? That perfect balance where every component shines but nothing overpowers. The best part? You can whip one up in under 20 minutes flat. Whether it’s a quick weeknight dinner or your weekend cookout star, this cheeseburger never disappoints.
Why You’ll Love This Cheeseburger
This isn’t just any cheeseburger – it’s everything you crave in one perfect package. Here’s why it’ll become your new favorite:
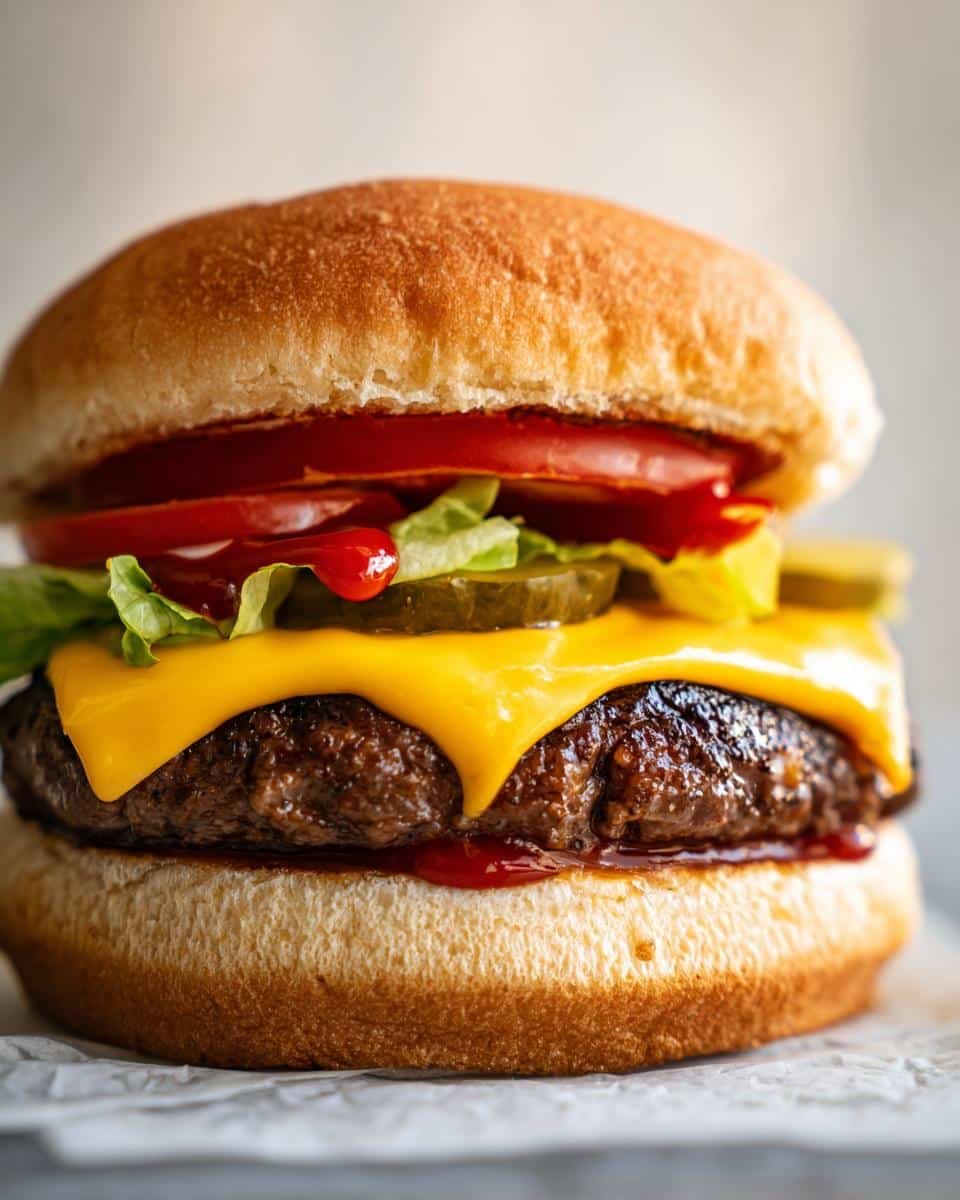
- Juicy perfection: That first bite? Pure beefy bliss with juices running down your chin (in the best possible way).
- Cheese pull magic: Watch that cheddar melt into gooey perfection right before your eyes – no sad unmelted slices here!
- Quick fix: From fridge to plate in under 20 minutes? Yes please! Perfect for when hunger strikes hard and fast.
- Make it yours: Swap toppings, change cheeses, go wild with sauces – this recipe is your delicious playground.
Trust me, once you try this version, those drive-thru burgers just won’t hit the same.
Ingredients for the Perfect Cheeseburger
Let’s talk ingredients – because great cheeseburgers start with great stuff! Here’s exactly what you’ll need (and why each matters):
- The star: 1 beef patty (150g) – go for 80/20 ground chuck for that perfect juicy-fat ratio
- The stage: 1 hamburger bun – sesame or brioche works wonders
- The melt: 1 slice cheddar cheese (sharp or mild, your call!)
- The crunch: 2 lettuce leaves (iceberg for crispness), 2 tomato slices (thick-cut!), 1/4 onion (sliced thin)
- The zing: 1 pickle slice – go for the classic dill
- The saucy trio: 1 tbsp mayonnaise, 1 tbsp ketchup, 1 tsp mustard (yellow or Dijon)
- The essentials: Salt and pepper to taste – don’t skimp here!
Pro tip? Keep everything cold until assembly – warm buns get soggy fast!
Equipment You’ll Need
No fancy gadgets required here – just a few basics every kitchen should have:
- A sturdy grill pan or cast iron skillet (my personal favorite for those perfect sear marks)
- A trusty spatula (metal works best for flipping)
- A sharp knife and cutting board for prepping toppings
That’s it! See? I told you this cheeseburger business doesn’t need much.
How to Make a Cheeseburger
Alright, let’s get cooking! Making the perfect cheeseburger is easier than you think – just follow these simple steps and you’ll be biting into burger bliss in no time.
Cooking the Beef Patty
First things first – heat your grill or pan over medium-high heat. While that’s warming up, generously season both sides of your beef patty with salt and pepper. When the pan’s hot (you should see a slight smoke), gently place your patty down. Here’s the golden rule – only flip once! Cook for 3-4 minutes per side for medium doneness. And whatever you do, resist the urge to press down on that patty – we want those juices staying right where they belong!
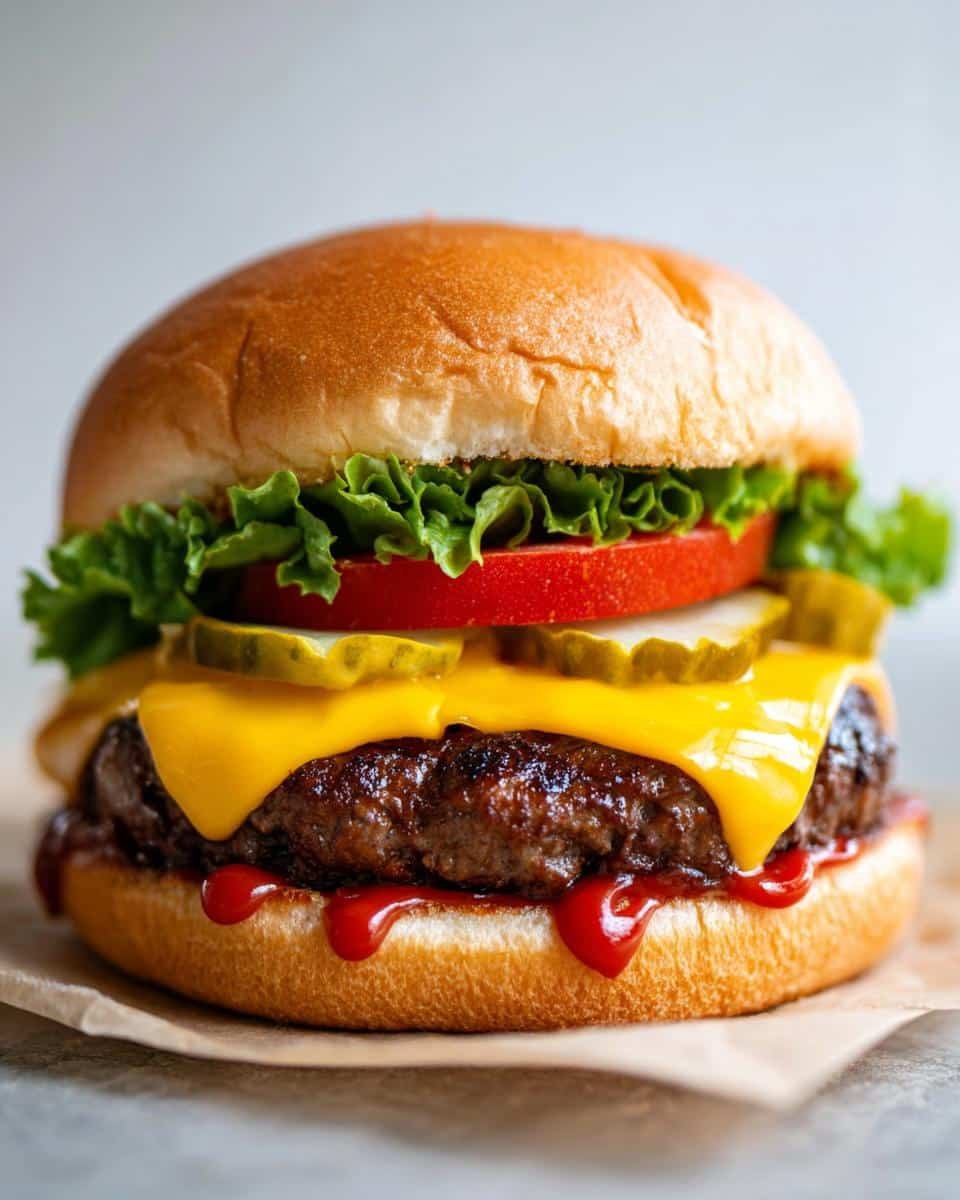
Assembling the Cheeseburger
While your patty cooks, lightly toast your bun – just 30 seconds per side gives it that perfect crispness without drying out. Now for the fun part! Spread your mayo, ketchup and mustard on the top bun. On the bottom bun, layer your lettuce first (it acts as a moisture barrier), then tomato, onion and pickle. When your patty’s done, slap that melty cheese slice on top immediately and transfer it to your waiting bun. Cap it off, press gently, and voila – cheeseburger perfection!
Pro tip: Let your burger rest for a minute before biting in – this lets the juices redistribute so every bite is as amazing as the first!
Tips for the Best Cheeseburger
Want to take your cheeseburger from good to “Oh my god, how did you make this?” status? Here are my tried-and-true tricks:
- Fresh is best: That supermarket pre-packaged ground beef? Skip it. Ask your butcher for freshly ground chuck – you’ll taste the difference immediately.
- Give it space: Don’t crowd your pan! Cook one patty at a time if needed. Overcrowding = steamed burgers (and nobody wants that).
- Patience pays: Let your cooked patty rest for just 60 seconds before biting in. Those juices need time to settle back into the meat.
- Temperature matters: Take your beef out of the fridge 15 minutes before cooking – a cold patty cooks unevenly.
Follow these simple tips and I promise – you’ll never settle for a mediocre cheeseburger again!
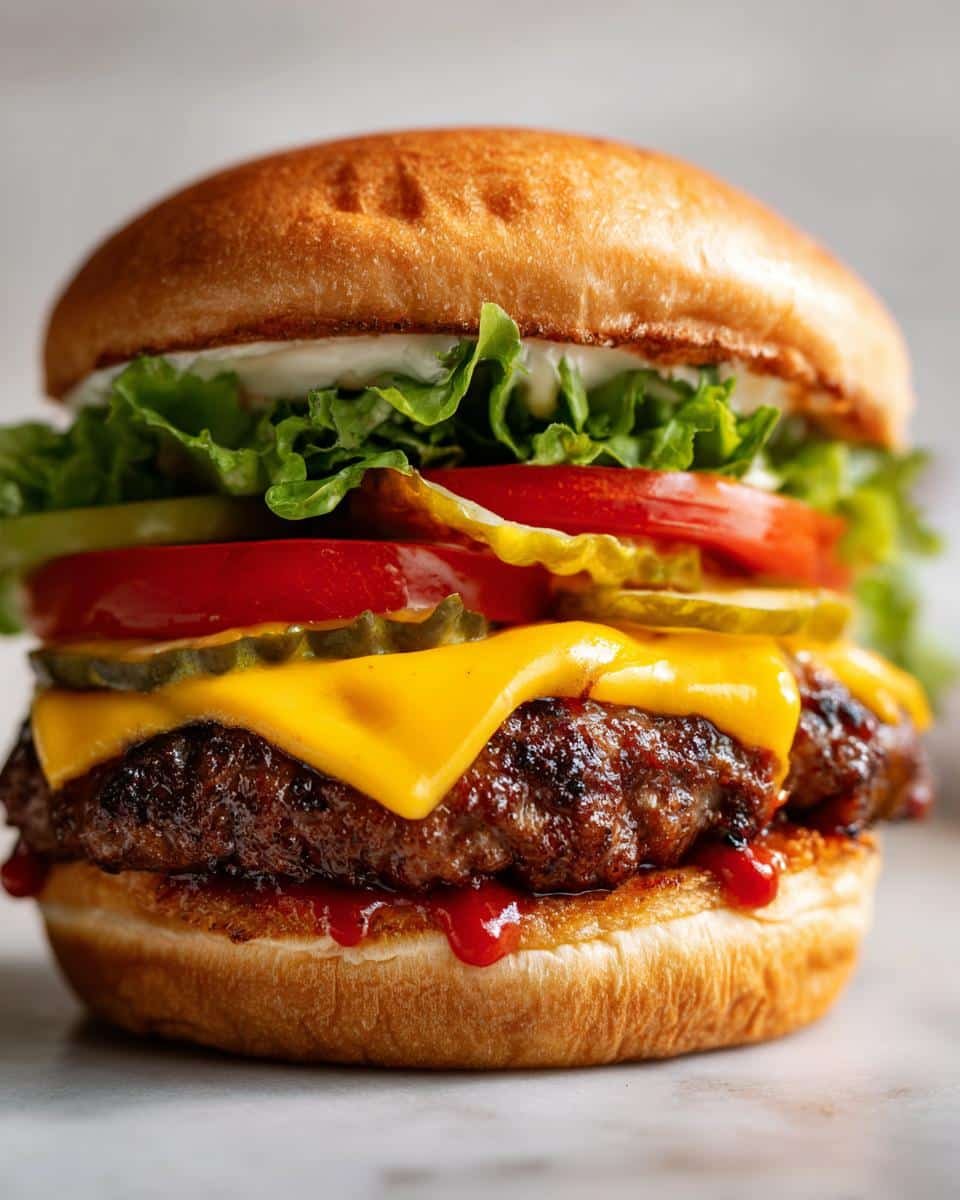
Cheeseburger Variations
Who says you can’t play with your food? Here are my favorite ways to mix up this classic:
- Protein swap: Try turkey or plant-based patties – just adjust cooking times
- Cheese adventure: Swap cheddar for pepper jack, Swiss, or even vegan slices
- Top it off: Add crispy bacon, creamy avocado, or caramelized onions
- Bun alternatives: Go lettuce wrap or pretzel bun for fun texture twists
The beauty? You can reinvent this cheeseburger every time without losing that comforting essence! If you’re looking for other quick dinner ideas, check out this creamy garlic chicken skillet dinner.
Serving Suggestions
Oh, you can’t just serve this cheeseburger alone – it deserves the perfect sidekicks! My go-to? Crispy golden fries and a tangy homemade coleslaw. Wash it all down with an ice-cold soda or beer. One cheeseburger makes a satisfying meal, but let’s be real – you might want to make two!
Storing and Reheating
Okay, let’s be honest – leftover cheeseburgers are rare in my house! But if you somehow have one to save, here’s how to keep it tasty. Wrap it tightly in foil and refrigerate for up to 2 days. When reheating, skip the microwave – that’ll turn your perfect burger into a soggy mess. Instead, warm it gently in a dry pan over medium heat for about 2 minutes per side. The bun stays crisp, the cheese gets melty again, and it’s almost as good as fresh!
Cheeseburger Nutrition Facts
Now, I’m no nutritionist, but here’s the scoop on what you’re biting into with this cheeseburger. Keep in mind these numbers can change depending on your exact ingredients – that homemade mayo versus store-bought makes a difference! For more information on general food safety and handling, you can consult resources from the U.S. Food and Drug Administration.
- Calories: Around 550 per burger (worth every single one!)
- Protein: A solid 30g from that beautiful beef patty
- Carbs: About 40g – mostly from that delicious bun
- Fat: 30g total (12g saturated) – remember, fat equals flavor!
My philosophy? Enjoy every bite mindfully – this cheeseburger is meant to be savored, not stressed over!
Cheeseburger FAQs
Got cheeseburger questions? I’ve got answers! Here are the ones I get asked most often:
Can I freeze the patty? Absolutely! Shape your patties first, then freeze them individually on a baking sheet before transferring to a freezer bag. They’ll keep for 3 months – just thaw overnight in the fridge before cooking. Pro tip: Add an extra minute per side when cooking from frozen.
What’s the best cheese for melting? My golden trio: American (the meltiest!), cheddar (for flavor), and pepper jack (if you like heat). Avoid pre-shredded cheeses – they contain anti-caking agents that prevent proper melting. That single slice of cheddar in our recipe? It’ll drape over your patty like a cheesy blanket!
How do I prevent a dry patty? Three secrets: 1) Use 80/20 ground chuck (that 20% fat is your friend), 2) Don’t overcook (3-4 minutes per side max!), and 3) Never press the patty while cooking – those juices are precious! If you follow these rules, you’ll get juicy perfection every time.
Now that you’re armed with all this cheeseburger wisdom, what are you waiting for? Fire up that grill and make yourself the best darn cheeseburger of your life – then come back and tell me how it went! If you’re looking for another great ground beef option, try this creamed cabbage and ground beef casserole.
PrintJuicy Cheeseburger Recipe Ready in Just 20 Minutes

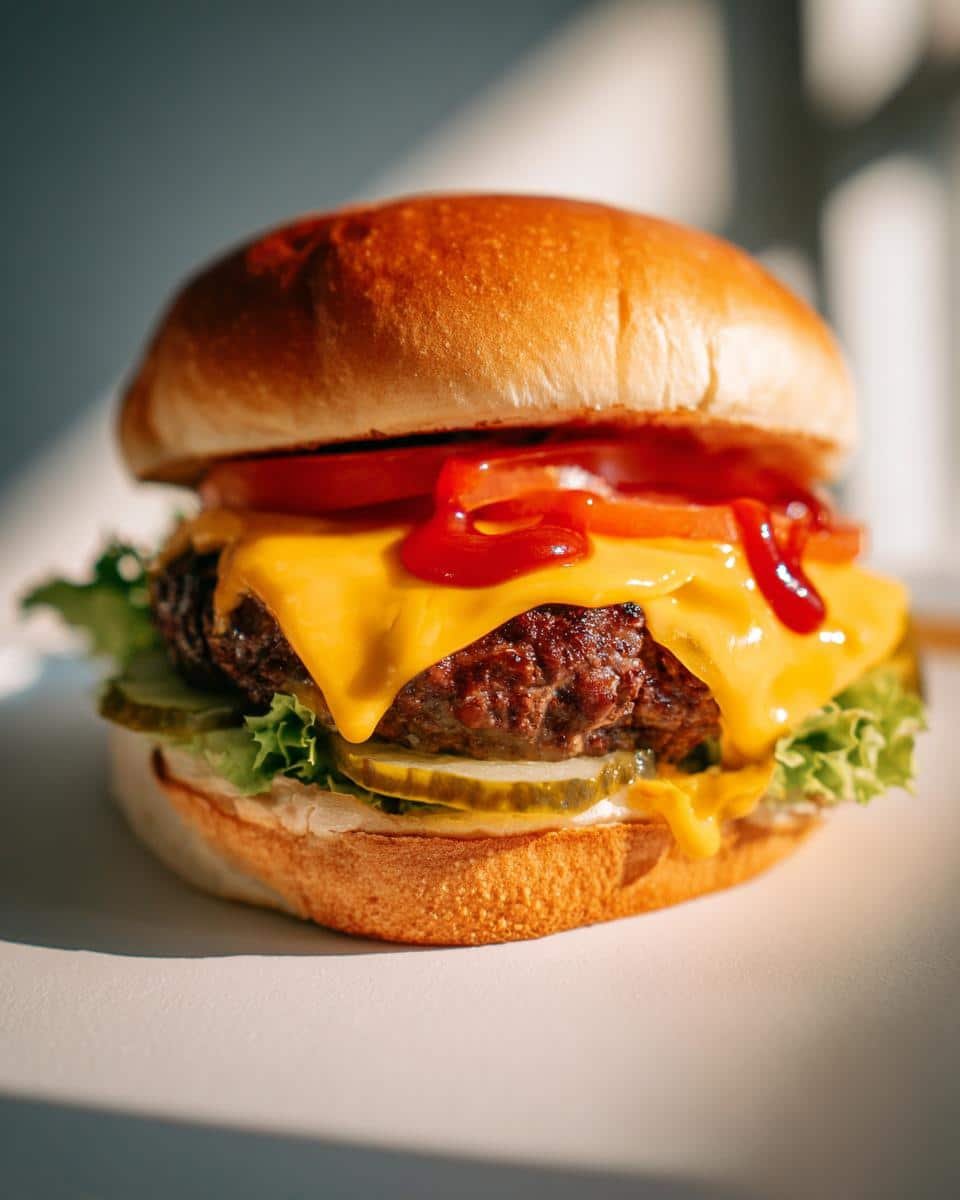
A classic cheeseburger with juicy beef, melted cheese, and fresh toppings.
- Prep Time: 10 minutes
- Cook Time: 8 minutes
- Total Time: 18 minutes
- Yield: 1 cheeseburger 1x
- Category: Main Course
- Method: Grilling
- Cuisine: American
- Diet: Low Lactose
Ingredients
- 1 beef patty (150g)
- 1 hamburger bun
- 1 slice cheddar cheese
- 2 lettuce leaves
- 2 tomato slices
- 1 tbsp mayonnaise
- 1 tbsp ketchup
- 1 tsp mustard
- 1/4 onion, sliced
- 1 pickle slice
- Salt and pepper to taste
Instructions
- Preheat your grill or pan to medium-high heat.
- Season the beef patty with salt and pepper.
- Cook the patty for 3-4 minutes per side.
- Place the cheese slice on the patty in the last minute of cooking.
- Toast the bun lightly on the grill.
- Spread mayonnaise, ketchup, and mustard on the bun.
- Layer lettuce, tomato, onion, and pickle on the bottom bun.
- Place the cooked patty with cheese on top.
- Cover with the top bun and serve.
Notes
- Use fresh ingredients for the best flavor.
- Adjust cooking time based on patty thickness.
- Customize toppings to your preference.
Nutrition
- Serving Size: 1 cheeseburger
- Calories: 550
- Sugar: 8g
- Sodium: 900mg
- Fat: 30g
- Saturated Fat: 12g
- Unsaturated Fat: 15g
- Trans Fat: 1g
- Carbohydrates: 40g
- Fiber: 3g
- Protein: 30g
- Cholesterol: 90mg